Label Everything. Find Anything.
You know the bin is somewhere on that shelf. You also know you'll open four wrong ones first. Raised 3D printed labels fix that for about six cents apiece, and unlike your label maker's stickers, they don't peel off the first hot weekend.
No 3D printer yet? See our recommended printer
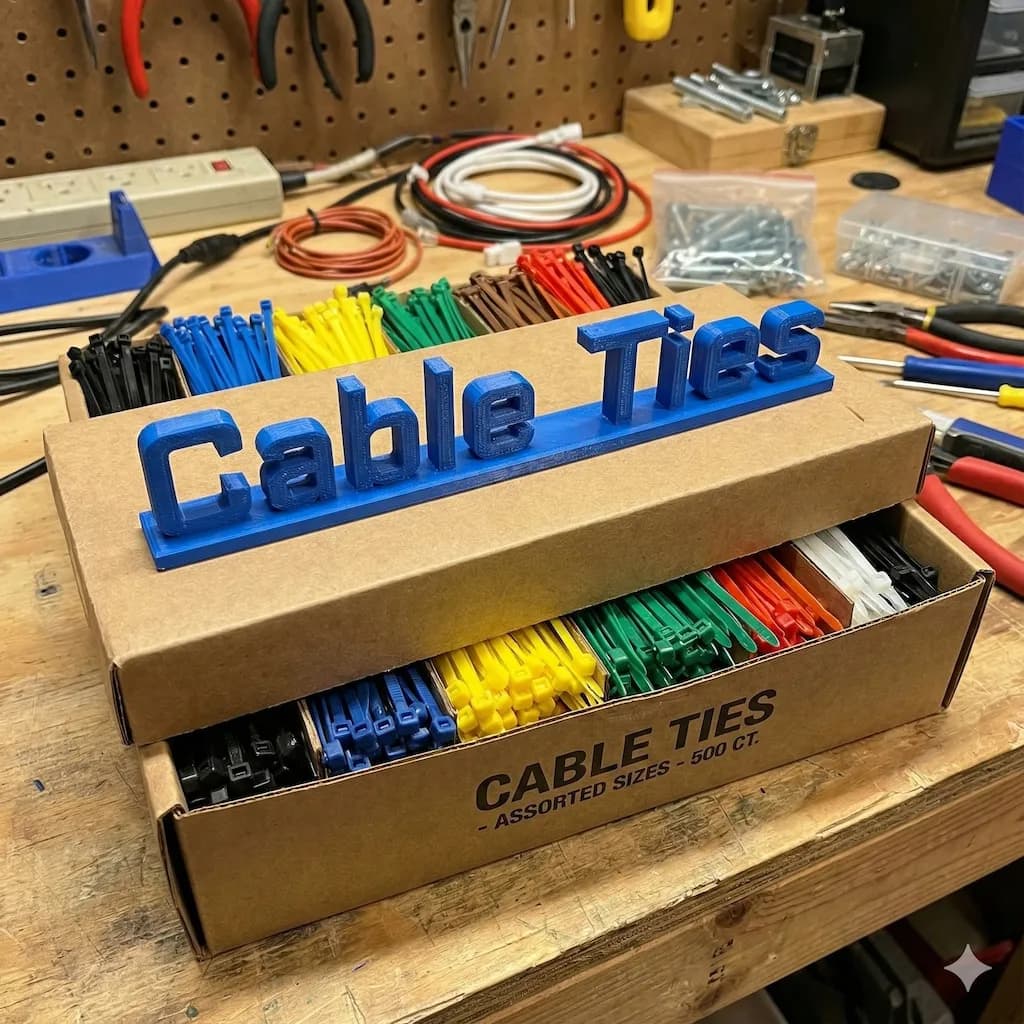
Why Label Makers Lose in a Workshop
Label makers are great in an office. A garage is not an office. Thermal tape fades in sunlight, the adhesive lets go after a summer of 40°C afternoons, and one greasy thumb makes the text unreadable for good. A 3D printed label is solid plastic all the way through: grab it with oily gloves, wipe it on your jeans, done.
- Sawdust settles between raised letters instead of covering them. The text stays readable when everything else in the shop is wearing a grey coat.
- Brake cleaner, WD-40, and acetone fingerprints kill printed stickers. They do nothing to a solid PLA or PETG label.
- When you reorganize, the label comes off in one piece and goes onto the new bin. No scraping sticker residue with a razor blade.
Letter Height Decides Readability
Sign makers use a simple rule: every 10 mm of letter height buys you roughly 1 meter of comfortable reading distance. Pick the size by where you stand when you're looking for the bin, not by what fits prettily on the label.
8 mm
Drawer labels
For small-parts drawers you read at arm's length. Short codes work better than full words: M3, M4, M5 instead of 'metric machine screws assorted'.
12-15 mm
Shelf bins
Readable from 1.5 meters, which is where you actually stand when scanning a shelf. The sweet spot for stacking bins and totes.
25 mm+
Shelf & zone signs
ELECTRICAL, PLUMBING, PAINT. Readable from the doorway, so you walk to the right corner before you start reading individual bins.
Use a Block Font. Yes, Even for Your Own Garage.
Cursive has its place; that place is a wedding table, not a screw bin. In a dim workshop you read shapes, not letters, and bold uppercase shapes are the fastest to recognize. In the NameSTL generator, Anton is the workshop favorite: thick strokes that print cleanly at small sizes and survive being knocked off the shelf.
- Instant recognition. Bold, thick letters read from across the room without squinting, even under one sad ceiling bulb.
- Built to last. Wide strokes mean solid plastic. An 8 mm Anton label shrugs off drops that would snap a thin decorative font.
- Dust-resistant. Raised 3D letters stay readable under sawdust and grime. A quick wipe and they're clean.
High-Contrast Printing
Visibility is contrast, not color. White text for black bins, black text for everything light. If you want two-tone labels without painting, swap filament color mid-print: the base prints in one color, the raised letters finish in another.
Mounting That Survives a Garage
The label is only as good as whatever holds it to the bin. Match the method to the surface:
Plastic bins & totes
VHB tape
Outdoor-grade double-sided tape holds through freezing winters and baking summers. The 19 mm wide rolls fit standard label backs perfectly.
Rough or curved surfaces
Hot glue
Fills gaps that tape can't bridge. To remove cleanly later, a drop of isopropyl alcohol at the edge releases the glue without a fight.
Steel shelving & toolboxes
Glued-on magnets
Epoxy two 8 mm neodymium magnets to the back and the label moves with your reorganizations. The single best method for tool chests.
Wire racks & pegboard
Zip ties
Lay the label face-down, tack two zip-tie loops to the back with hot glue, and strap it to wire shelving where nothing adhesive holds.
Label the System, Not Just the Bins
A wall of labeled bins still fails if every label looks different. Pick one font, one letter height per tier (drawers, bins, zones), and one color scheme, then never deviate. Your eyes learn the system within a week and finding things becomes automatic.
Work in zones: pull everything from one shelf, sort it, type the label list into the generator one after another, and print the whole zone as a single batch. A typical shelf of 15 bins is one evening of sorting and one overnight print.
The Batch Math
5-8 g
Filament per label
Roughly 15-20 cents each. A full 1 kg spool labels well over a hundred bins.
12-16
Labels per plate
Flat labels pack tightly on the build plate. Queue a plate before dinner, peel off a finished set in the morning.
1 weekend
For the whole shop
Fifty bins is 3-4 print plates. The sorting takes longer than the printing, and the sorting was overdue anyway.
Workshop Label FAQ
Will PLA labels survive garage temperatures?
In most garages, yes. PLA starts softening around 60°C, which an enclosed car reaches but a garage rarely does. If your shop is an uninsulated metal shed in a hot climate, or the labels face direct sun through a window, print them in PETG instead. It costs the same and handles heat and UV without complaint.
How do I attach labels to plastic bins?
Outdoor-grade VHB double-sided tape is the default: clean the bin spot with isopropyl alcohol, press the label on for 30 seconds, and it stays put for years. For wire racks use zip ties through glued-on loops, and for steel surfaces glue small neodymium magnets to the back.
What letter size can I read from across the workshop?
Use the sign maker's rule of thumb: 10 mm of letter height per meter of reading distance. Labels you read at arm's length need 8 mm letters, shelf bins read comfortably at 12-15 mm, and zone signs you want to spot from the doorway should be 25 mm or taller.
What does it cost to label 50 bins?
About $8-10 in filament. Each label uses 5-8 grams of plastic, so 50 labels need roughly 300-400 grams of a $20-25 spool. Compare that to label maker tape cartridges, which run $15-25 for tape that fades within a couple of years.
Can I print a label with mounting holes or clips?
The NameSTL generator outputs the text itself, which is exactly what you want for glue, tape, or magnet mounting. If you need bolt holes, add a 4 mm cylinder as a negative part in your slicer, or simply drill the finished label; PLA drills cleanly.
Related Guides
End the Chaos
Type a label, pick a bold font, download the STL. Repeat until the shop is sorted.
No 3D printer? See our printer recommendation